Water Heater Leaking From Top Fix: Step‑By‑Step Guide
Water Heater Leaking From Top Fix: Safe DIY Guide If you see water on top of your tank, you need a clear plan fast. A water heater leaking from top fix is...
In this article

If you see water on top of your tank, you need a clear plan fast. A water heater leaking from top fix is often simpler than a leak from the bottom, but you still must work safely. This guide walks you through quick safety steps, common leak sources, and what you can repair yourself versus what needs a professional.
Safety First Before Any Water Heater Repair
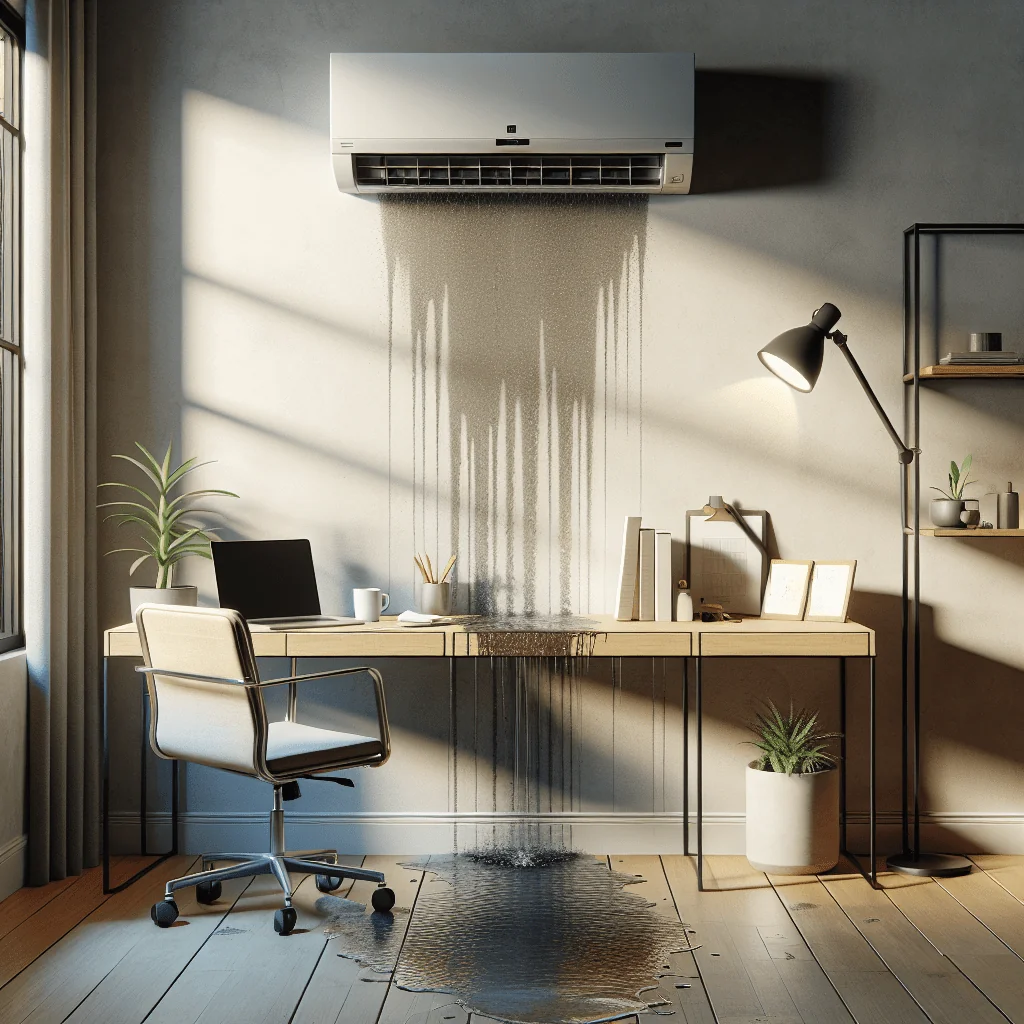
Before you touch valves or wiring, make the area safe. A leaking water heater can damage floors and create electrical risks, especially on electric models.
Power, water, and basic protection steps
Follow these steps in order before you start any repair. They protect you from shock, gas leaks, and extra water damage.
- Turn off power to the heater
- Shut off the cold water supply
- Protect the area from water damage
Once power and water are off, you can inspect the top of the heater without rushing. Do not skip these steps, even for a small drip.
How to Turn Off Power and Water Safely
Many homes have both water and electrical panels in the same area. Work slowly and keep your hands dry while you shut things down.
Shutting off power on electric and gas heaters
For an electric heater, go to your main panel and switch the circuit breaker labeled “water heater” to OFF. If you are unsure which breaker is correct, shut off the main breaker. For a gas heater, turn the gas control knob on the unit to “OFF” or “PILOT,” following the printed label on the control.
Stopping the water supply to limit the leak
Find the cold water shut‑off valve on the pipe entering the top of the tank. Turn the handle clockwise until it stops. This limits more water entering the tank and reduces the leak. Place towels or a shallow pan under the leak area to catch drips and keep nearby outlets or cords dry.
How to Tell If the Leak Is Really From the Top
Water often runs down pipes and seams, so a top leak can look like a side leak. Take a few minutes to confirm the source before you start any water heater leaking from top fix.
Drying and watching for fresh moisture
Carefully dry the entire top of the tank with a towel. Dry the hot and cold pipes, fittings, and the area around the temperature and pressure (T&P) valve. Then watch for fresh moisture. If water first appears on top and then runs down the side, you likely have a top leak. If the top stays dry but the side or bottom gets wet, the leak is probably lower on the tank or from a drain or relief line.
Common Sources of a Water Heater Leaking From the Top
Several parts on the top of the tank can drip or spray. Knowing each part helps you find the right fix without guesswork.
Typical top leak points you should inspect
Focus your inspection on these components. They are the most frequent reasons for water on top of the heater.
- Cold water inlet connection: The joint where the cold pipe meets the heater can loosen or the fitting seal can fail.
- Hot water outlet connection: The hot side fitting can also leak from loose threads or worn tape.
- Temperature and pressure (T&P) valve top area: Some heaters have the T&P valve on top. A bad valve or poor seal can leak around the threads.
- Dielectric unions or nipples: These small fittings separate different metals but can rust or crack over time.
- Expansion tank connection (if present): The small tank above or near the heater can leak at its threaded joint.
- Internal tank failure near the top: If water seeps from under the metal jacket near the top seam, the tank itself may be failing.
Once you know which part is wettest, you can choose the right repair. Many top leaks come from simple loose fittings, which are often fixable with hand tools.
Quick Reference: Leak Location vs Likely Cause
This table helps you match what you see on top of the heater with the most likely cause. Use it as a guide before you decide what to repair or replace.
| Where You See Water | Most Likely Cause | Typical Fix |
|---|---|---|
| Around cold inlet fitting | Loose threads or worn tape | Tighten fitting or reseal threads |
| Around hot outlet fitting | Loose joint or minor corrosion | Clean, reseal, and tighten connection |
| At top of T&P valve threads | Failed seal or damaged valve body | Reseal threads or replace valve |
| On expansion tank joint | Bad tape or cracked fitting | Disconnect, tape, and reconnect joint |
| Under metal top cover | Internal tank corrosion | Replace water heater |
Use this table as a starting point, then confirm by drying the area and watching for new drips. Visual checks are still the best way to be sure of the source.
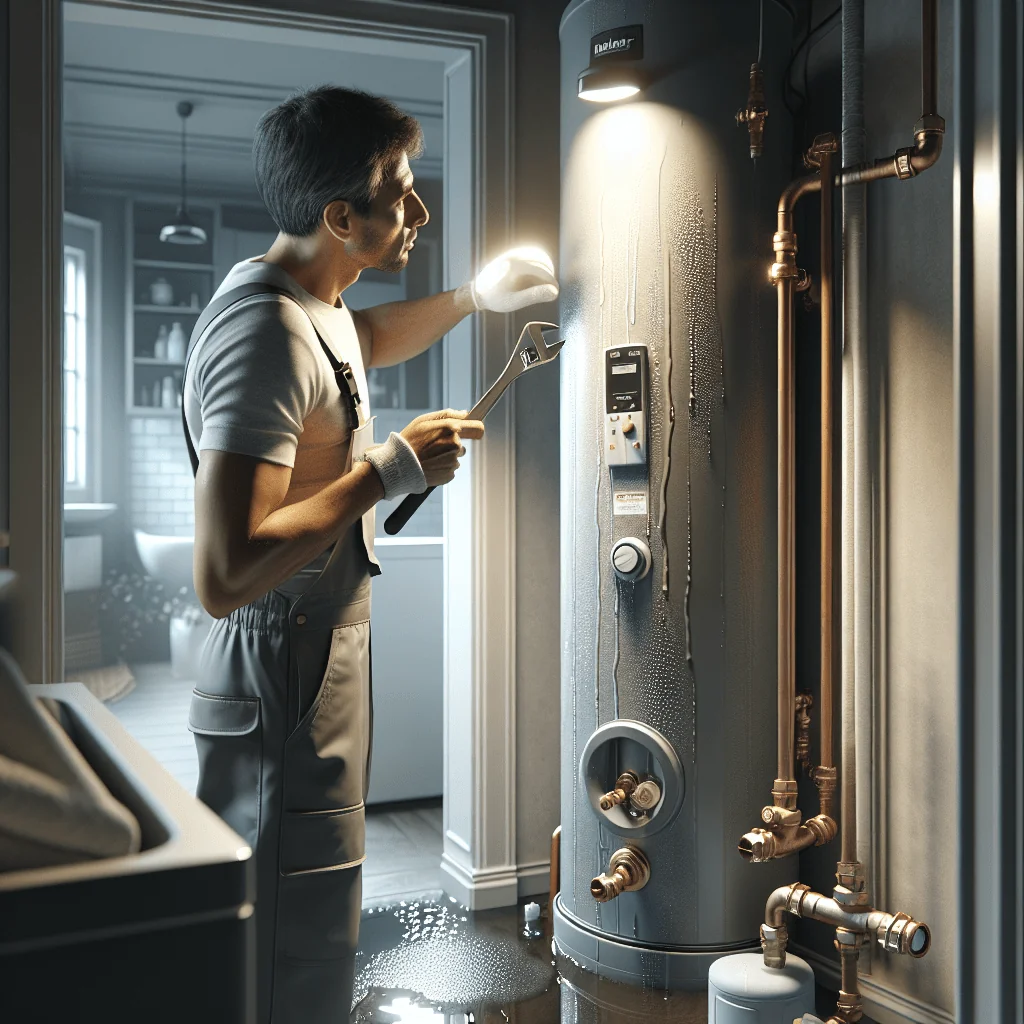
Fixing Loose Fittings on Top of the Water Heater
Loose or poorly sealed pipe connections are the easiest top leaks to fix. You will usually see water beading around the threaded joint on the hot or cold line.
Simple tightening steps for threaded joints
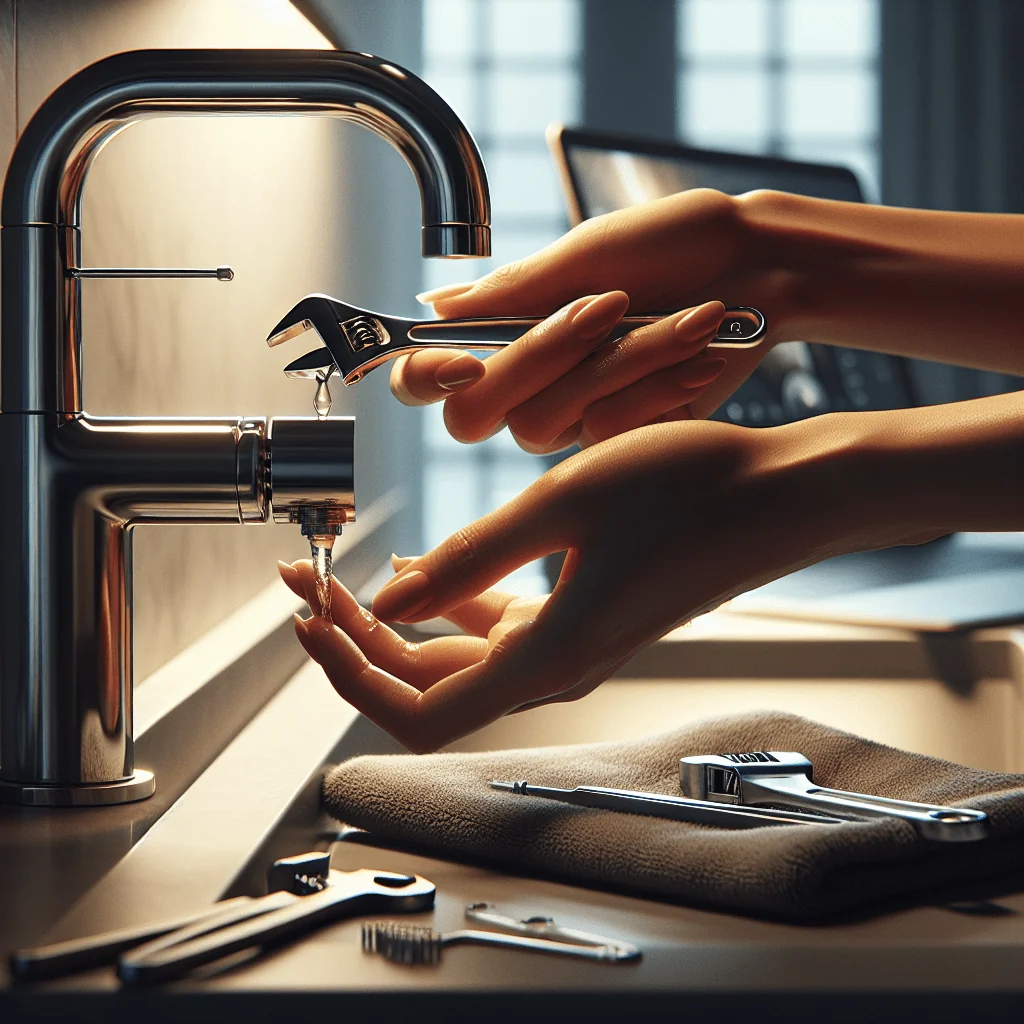
First, confirm power and water are still off. Give the area a quick dry again so you can see new leaks clearly once you test the repair. Use an adjustable wrench to gently tighten the leaking connection a quarter‑turn at a time. Do not force the fitting; too much pressure can crack pipes or damage threads. If tightening stops the leak during testing, the fix is complete.
How to Reseal Threaded Connections With Plumber’s Tape
If tightening does not stop the leak, the thread seal may be worn or missing. Resealing the joint is a common DIY step, as long as you are comfortable disconnecting and reconnecting the pipe.
Removing, taping, and reinstalling the fitting
Place a bucket or pan below the fitting. Even with the supply off, some water will drain from the line. Loosen the leaking fitting with a wrench and carefully separate the pipe from the heater nipple or valve. Clean the threads on both parts with a rag. Wrap plumber’s (PTFE) tape clockwise around the male threads, overlapping by about half the width of the tape. Reconnect the fitting by hand first, then snug with a wrench. Do not overtighten.
Fixing a Leak at a Top‑Mounted T&P Valve
A leak near a top‑mounted T&P valve can come from two places. The valve body itself can fail, or the valve can be doing its job and releasing excess pressure or temperature.
Checking valve threads versus discharge outlet
After the system cools and the power is off, dry the top of the valve and the threads where it enters the tank. If water seeps from the threads, the seal is likely bad. If water drips from the valve outlet or attached discharge pipe, the valve may be opening due to high pressure or temperature. Replacing a T&P valve is often within DIY range, but you must match the new valve’s rating to the old one and follow safety rules closely.
Expansion Tank and Other Top Fitting Leaks
Many newer systems have a small expansion tank above or near the main heater. This tank protects the system from pressure spikes. The connection between the expansion tank and the main water line can leak on top of the heater.
When you can repair and when to replace
If you see water at the expansion tank threads, treat the joint like any other threaded fitting. Shut off water, relieve pressure by opening a hot tap, then disconnect, tape, and reconnect the joint as described earlier. If water seeps from the body of the expansion tank or from a rusted seam, the expansion tank itself may be failing, and replacement is usually the best fix.
When a Top Leak Means the Tank Is Failing
Sometimes the leak is not from a fitting at all. If you see water coming from under the metal top cover, or from the top seam of the tank, the inner tank may be rusted through.
Signs of internal corrosion you should not ignore
Dry the fittings and watch closely. If all joints stay dry but water still appears from under the jacket, you are likely dealing with internal corrosion. No tape or tightening can fix a rusted tank wall. In this case, the safest water heater leaking from top fix is replacement, not repair. Keep power off, keep the water supply off, and call a professional to replace the unit.
How to Test Your Repair for Leaks
After you tighten or reseal any connections, you need to test your work. This step confirms the leak is gone before you restore full power and normal use.
Refilling, venting air, and checking for drips
First, slowly open the cold water shut‑off valve above the heater. Listen for the tank filling. Open a nearby hot water tap to let air escape; close the tap once water flows steadily. Watch the repaired area for several minutes. If no water appears, dry the area again and check after 15–30 minutes. If the top stays dry, you can turn the power or gas back on and return the heater to normal operation.
DIY vs Professional: When to Call for Help
Many top leaks are simple, but some signs mean you should stop and call a plumber. Safety and long‑term reliability matter more than forcing a DIY fix.
Situations where expert help is the safer choice
Call a professional if you see water coming from under the metal top cover or from the tank seam, heavy rust on top fittings that crumble when touched, or repeated T&P valve discharge even after replacing the valve. You should also get help if you smell gas near a gas water heater or if you are unsure about turning off gas, resetting a circuit breaker, or matching replacement parts. A plumber can also check related issues like low water pressure or why a boiler is losing pressure if your home has more than one hot water system.
Simple Maintenance to Prevent Future Top Leaks
Once you fix a water heater leaking from the top, a few habits can help prevent new leaks. You do not need special tools for basic checks.
Regular checks and a basic safety checklist
Every few months, look at the top of the heater with a flashlight. Check for moisture, rust, or mineral buildup around fittings. Catching a slow seep early is much easier than dealing with a steady drip later. Also, keep the area around the heater clear so you can reach the shut‑off valve and circuit breaker quickly. A general DIY repair safety checklist for your home should include knowing how to reset a circuit breaker, how to shut off water, and where your main gas valve is located.